
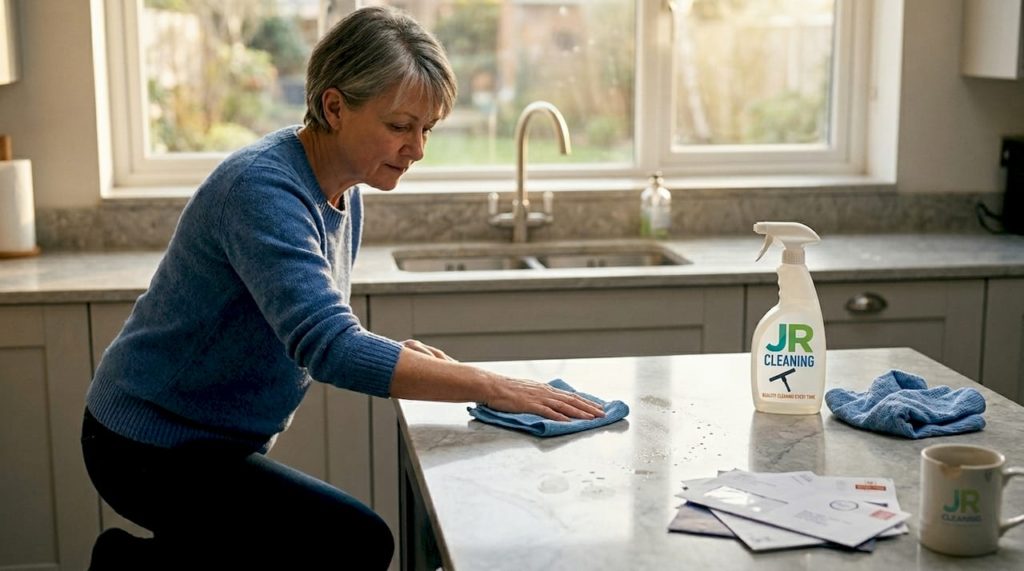
Picture this: a beautiful sandstone patio or a marble hallway that once looked immaculate now sits dull, stained, and tired. You reach for a household cleaner, scrub hard, and moments later the surface looks worse than before. It is a frustratingly common scenario, and one that can lead to permanent, costly damage. Stone surfaces are a significant investment in any home or business, and keeping them in excellent condition requires the right knowledge, the right products, and a clear method. This guide walks you through everything you need to know to clean stone safely and effectively.
Table of Contents
- Understanding your stone surfaces and why proper cleaning matters
- What you need before you start: tools, materials, and checks
- Step-by-step instructions: safe cleaning for stone surfaces
- Common mistakes, edge cases, and professional safety tips
- What most guides overlook about stone cleaning in Victoria
- Protect and enhance your stone with expert care
- Frequently asked questions
Key Takeaways
| Point | Details |
|---|---|
| Gentle methods first | Always prioritise mild cleaners and non-abrasive tools to avoid lasting stone damage. |
| Surface checks matter | Inspect your stone and test cleaners in a discreet spot before full cleaning. |
| DIY has limits | Historic, stained, or delicate stones often require professional assessment to prevent costly errors. |
| Verification is crucial | Proper pH testing and thorough rinsing ensure residue-free and safe results. |
Understanding your stone surfaces and why proper cleaning matters
Before you pick up a cloth or a bottle of cleaner, it pays to understand what you are actually dealing with. Stone is not a single material. Marble, granite, limestone, and sandstone each have distinct properties, different levels of porosity, and different tolerances for cleaning agents. Getting this wrong is not just a cosmetic issue. It can cause irreversible damage.
Common stone types and their vulnerabilities:
- Marble: Highly polished but porous and sensitive to acid. Even mild acids will etch the surface, leaving dull patches that cannot be buffed out without professional repolishing. Learning marble care basics before you start can save you significant expense.
- Granite: Denser and more resistant than marble, but still vulnerable to certain solvents and long-term chemical exposure.
- Limestone: Soft and highly porous, making it prone to absorbing stains and reacting badly to acidic cleaners.
- Sandstone: Grainy and permeable. Moisture and contaminants can penetrate deeply, making surface cleaning alone insufficient in some cases.
One of the most important principles in professional stone cleaning is to always use the gentlest method that achieves the result. Escalating to stronger chemicals or abrasive tools should only happen when milder approaches have genuinely failed, and even then, with great caution.
Historic stone cleaning guidelines warn explicitly against harsh or incorrect chemistries, including both acids and alkalis, as well as abrasion. These warnings apply equally to modern domestic and commercial stone, not just listed buildings.
Important: Incorrect cleaning does not just leave marks. It can permanently alter the surface texture, open up the pores of the stone to future contamination, and degrade structural integrity over time. The consequences are often invisible at first, making early mistakes especially dangerous.
Understanding the specific stone you have is the foundation of everything else. If you are unsure, seek advice from a stone cleaning specialist in the UK before proceeding.


What you need before you start: tools, materials, and checks
Once you understand the risks, gathering the right equipment and inspecting your surfaces before you begin is essential. Rushing this stage is one of the most common reasons DIY stone cleaning goes wrong.
Essential equipment and materials:
- pH-neutral stone cleaner (specifically formulated for your stone type)
- Soft-bristled brush or non-abrasive sponge
- Clean microfibre cloths
- Protective gloves and safety goggles
- Bucket of clean, warm water
- Spray bottle for controlled application
- pH testing strips (for verification after cleaning)
Comparison: pH-neutral cleaners vs. harsh chemicals
| Feature | pH-neutral cleaner | Harsh chemical (acid/alkali) |
|---|---|---|
| Safe for marble | Yes | No |
| Safe for sandstone | Yes | No |
| Risk of etching | Very low | High |
| Risk of discolouration | Very low | High |
| Suitable for regular use | Yes | No |
| Recommended by professionals | Yes | No |
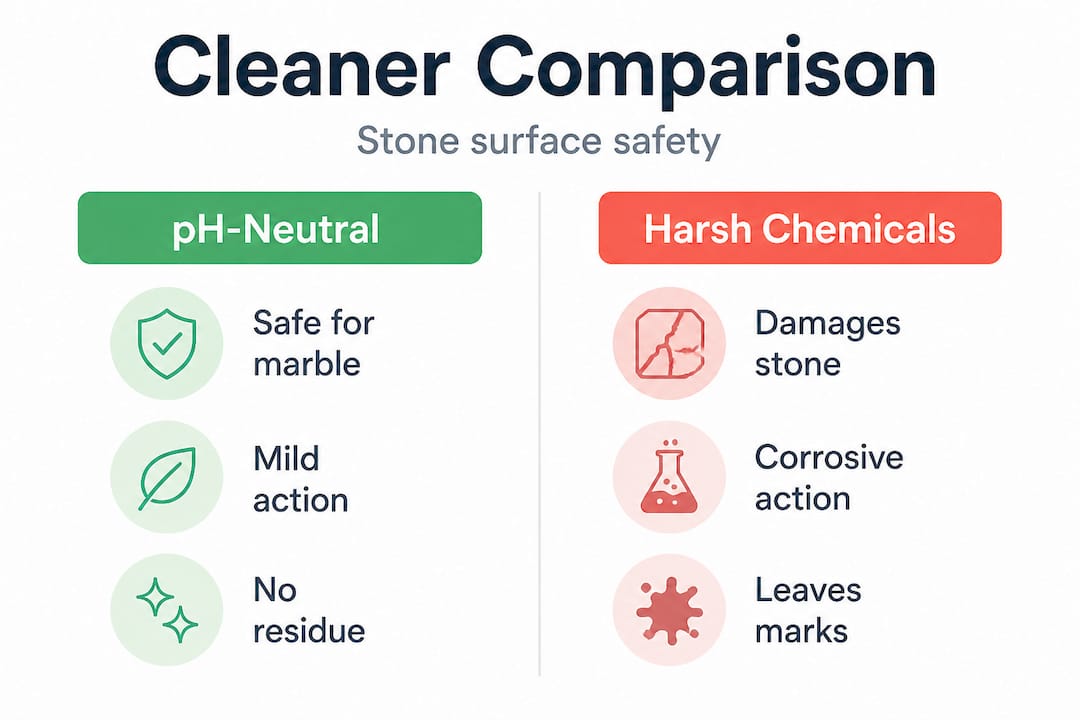

Historic marble cleaning procedures consistently reference pH-neutral or non-ionic detergent concepts as the safe baseline for most stone types, and this principle holds true for everyday residential and commercial surfaces as well.
Quick surface checks before you begin:
- Look for existing cracks, chips, or loose sections. Cleaning a damaged surface can make structural issues worse.
- Check for previous sealant or treatment. Some coatings react unpredictably with cleaning agents.
- Identify the type of soiling. Organic stains (moss, algae, food) respond differently to mineral deposits or rust.
- Always perform a patch test in a small, inconspicuous area before treating the full surface.
Pro Tip: Never skip the patch test, even if you have used a product before. Different batches, different stone conditions, and even seasonal temperature changes can affect how a cleaner behaves on your surface.
You can find more expert cleaning tips on our blog, covering a range of surfaces and scenarios relevant to UK homes and businesses.
Step-by-step instructions: safe cleaning for stone surfaces
With preparation complete, follow these evidence-based steps for the most reliable results. The sequence matters. Skipping steps or reordering them is a common source of problems.
- Clear the area. Remove furniture, plant pots, and any objects from the surface. Sweep away loose debris with a soft brush.
- Pre-wet the surface. Dampen the stone with clean water before applying any cleaner. This prevents the cleaning solution from being absorbed too quickly and helps it work evenly.
- Apply your pH-neutral cleaner. Dilute according to the manufacturerâs instructions. Apply with a soft brush or sponge using gentle, circular motions. Do not scrub hard.
- Allow appropriate dwell time. Let the cleaner sit on the surface for the time specified on the product label, typically two to five minutes. Do not allow it to dry on the stone.
- Rinse thoroughly. Use clean water and rinse the surface completely. For exterior stone, a low-pressure hose is ideal. For interior stone, use a damp cloth and change the water frequently.
- Check the result. Inspect the surface in good light. Look for remaining stains, streaks, or residue before the stone dries completely.
- Verify pH neutrality. Use pH testing strips to confirm the surface has returned to a neutral pH after rinsing. This step is critical. Historic marble guidance explicitly calls for pH testing and neutralisation after chemical cleaning, and the same principle applies to all stone types.
- Allow to dry fully. Do not place objects back on the surface until it is completely dry.
Special notes by stone type:
- Marble: Use only products specifically labelled safe for marble. Rinse immediately and thoroughly.
- Granite: Can tolerate slightly more robust cleaning but still avoid acids. Dry promptly to prevent water marks.
- Sandstone: Avoid over-wetting. Use minimal water and allow extended drying time.
- Limestone: Extremely acid-sensitive. Even carbonated water can cause minor etching over time.
DIY vs. professional cleaning: a quick comparison
| Factor | DIY cleaning | Professional cleaning |
|---|---|---|
| Cost | Lower upfront | Higher upfront, lower long-term risk |
| Risk of damage | Moderate to high | Very low |
| Equipment quality | Basic | Specialist-grade |
| Suitable for historic stone | Rarely | Yes |
| Result consistency | Variable | High |
For persistent stains or streaks after following these steps, do not increase chemical strength. Instead, consult guidance on UK stone cleaning practices or contact a professional for assessment.
Pro Tip: If you notice a white haze forming on the stone after cleaning, this is likely efflorescence, which is mineral salts drawn to the surface by moisture. It is a sign the stone has been over-wetted. Allow it to dry fully and brush away gently once dry. Do not re-wet to try to remove it.
Common mistakes, edge cases, and professional safety tips
Completing the main cleaning process does not mean every challenge is solved. There are several common errors that even careful homeowners make, and some situations where professional help is not just advisable but essential.
Top mistakes to avoid:
- Using vinegar or citrus-based cleaners. Both are acidic and will etch marble, limestone, and other calcium-based stones. The damage is often immediate and permanent.
- Using abrasive scrubbing pads. These scratch the surface, especially on polished stone, and create micro-grooves that trap dirt more readily in future.
- Over-wetting porous stone. Excess moisture drives contaminants deeper into the stone and can cause staining, efflorescence, or even structural weakening over time.
- Skipping the patch test. This cannot be overstated. A patch test takes five minutes and can save you hundreds of pounds.
- Neglecting to seal after cleaning. Many stone types benefit from a protective sealant applied after deep cleaning. Without it, the freshly cleaned surface is more vulnerable to new staining.
Warning: Never use harsh chemical cleaners, including acids, alkalis, or bleach, on historic stone, porous stone, or any surface you are uncertain about. The damage caused is frequently irreversible and can significantly reduce the value and structural integrity of the surface.
When to call a professional:
- Stains that do not respond to gentle cleaning after two or three attempts
- Rust stains, which require specialist poulticing techniques for limestone and marble rather than surface cleaning
- Stone that is awaiting repointing, where soiling may be embedded in the joints
- Any surface with historic significance or listed building status
- Widespread biological growth (moss, lichen, algae) that covers large areas
Rust stains are a particularly good example of an edge case that demands professional attention. Poulticing, the process of drawing rust compounds out of porous stone using an absorbent material mixed with a chemical agent, requires careful product selection and timing. Done incorrectly, it can spread the stain or cause new damage. For these situations, specialist stone cleaning advice from an experienced professional is the safest path forward.
What most guides overlook about stone cleaning in Victoria
Here is something most generic guides will not tell you: location matters enormously when it comes to stone cleaning, and Victoriaâs specific conditions make a meaningful difference to how you should approach the task.
Victoria experiences variable humidity and rainfall throughout the year. This creates a cycle of wetting and drying that accelerates biological growth on exterior stone, particularly moss, algae, and lichen. These organisms do not just sit on the surface. They produce acids as part of their natural lifecycle, and over time those acids etch into the stone beneath them. By the time you can see significant growth, the damage underneath may already be more extensive than a surface clean can address.
Older properties in Victoria, many of which were built using a mix of sandstone, limestone, and brick, present another layer of complexity. Mixed materials often require different cleaning approaches within the same wall or floor, and what works safely on one material may damage the adjacent one. This is not a problem you can solve with a single product or a single method.
We have seen, over more than 20 years of experience, that the most costly stone cleaning mistakes in the region come not from neglect but from well-intentioned DIY attempts using the wrong products. A homeowner who pressure-washes a sandstone wall to remove moss can strip the surface layer of the stone, exposing softer material beneath that erodes far more quickly. The moss comes back faster, and the wall is now structurally weaker.
Our honest view is that a professional site inspection before any significant stone cleaning project is not an indulgence. It is genuinely the most cost-effective first step, especially for older buildings or surfaces with any kind of existing damage. The local stone cleaning expertise available in Victoria means you do not have to rely on generic national guidance that does not account for your specific building materials, exposure levels, or the particular challenges of the local climate.
Protect and enhance your stone with expert care
Knowing the right steps and the right products puts you in a much stronger position than most homeowners and business owners. But stone cleaning, particularly for older, mixed, or heavily soiled surfaces, is one of those tasks where professional support genuinely pays for itself in the long run.


At JR Cleaning, we have spent over 20 years helping homeowners and businesses across Victoria maintain and restore their stone surfaces safely. Our fully insured team uses specialist-grade equipment and proven methods tailored to your specific stone type and condition. Whether you need a one-off deep clean or ongoing maintenance, our stone cleaning services are designed to protect your investment and keep surfaces looking their best. As residential and commercial cleaning experts, we make it straightforward to get a free quote and expert advice with no obligation. Get in touch today via our website, phone, or WhatsApp.
Frequently asked questions
Can I use vinegar or household bleach on my stone surface?
No, avoid acidic or alkaline chemicals like vinegar or bleach as they can cause permanent damage to most stone surfaces. Historic stone cleaning guidance explicitly advises against acidic or alkali chemical cleaners and abrasive methods.
How do I know if my stone needs professional cleaning?
If stains remain after gentle cleaning, or if you notice etching, rust marks, or the surface has historic value, seek professional assessment. Specialist edge cases such as rust poulticing and soiling before repointing require trained expertise rather than DIY approaches.
How do professionals ensure the stone is safe after cleaning?
They verify that the pH is neutral and ensure complete rinsing using controlled water pressure and surface checks. Professional marble cleaning procedures include pH testing until the surface is fully neutralised, which is a standard that all quality stone cleaning should follow.
Is there a difference in cleaning interior and exterior stone?
Yes, exterior stone is more exposed to weather, pollutants, and biological growth, often requiring thorough inspection and sometimes different methods or professional care to achieve safe, lasting results.
How often should I clean my stone surfaces?
Light cleaning should be a regular part of your maintenance routine, but deep cleaning is best carried out by professionals annually or as needed based on the surfaceâs appearance and condition.
Recommended
- Stone cleaning | Kent and South of England
- Stone Cleaning In The UK
- Window cleaning tips: Easy methods for spotless results | J R Cleaning
- Interior cleaning must-haves for spotless results in 2026 | J R Cleaning
- Marble maintenance basics: preserve your stone in 2026 â Marmorique

